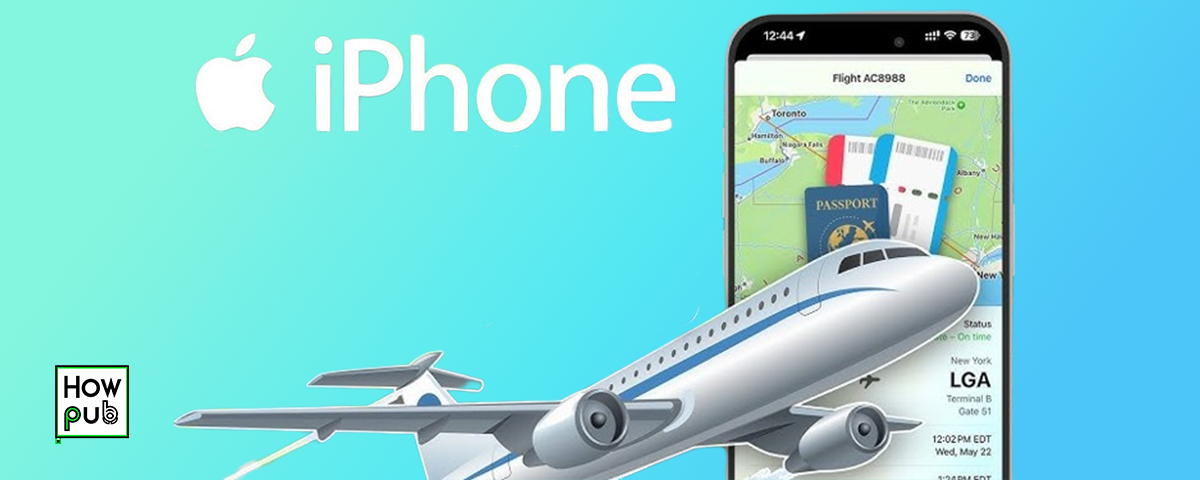
Introduction
For frequent travelers, the iPhone is an indispensable tool that can help with everything from booking flights to navigating foreign cities. However, to make the most of your iPhone while traveling, it’s essential to optimize it for convenience, security, and connectivity. This guide will walk you through the essential iPhone tips every frequent traveler should know to ensure a smooth and hassle-free journey.
Step 1: Set Up International Roaming and Cellular Data
Before you head out on your trip, ensure that your iPhone is set up for international roaming and that you have the right data plan.
How to Set Up International Roaming


-
Check with Your Carrier:
- Before you travel, contact your mobile carrier to ensure that your plan includes international roaming or to add an international data plan. Some carriers offer daily or monthly international plans that can save you money.
-
Open the Settings App:
- On your iPhone’s Home screen, locate and tap the Settings icon, which looks like a gray gear.
-
Navigate to Cellular:
-
In the Settings menu, scroll down and tap on Cellular or Mobile Data, depending on your iPhone model.
-
While setting up your iPhone for travel, it's also a great time to explore other useful features, such as AirPlay, which allows you to stream media wirelessly. This can be helpful for sharing content with others during your travels.
-
-
Enable Data Roaming:
- Tap on Cellular Data Options and toggle Data Roaming to the On position. This setting ensures that your iPhone can connect to networks abroad.
-
Monitor Data Usage:
- To avoid unexpected charges, keep an eye on your data usage. You can view your data usage by going to Settings > Cellular > Cellular Data Usage.
Step 2: Download Offline Maps
Navigating without a reliable internet connection can be challenging, but downloading offline maps ensures you never get lost. Learn more about keeping your data private while traveling by checking out this comprehensive guide to iPhone privacy.
How to Download Offline Maps in Google Maps

-
Open Google Maps:
- If you don’t already have Google Maps installed, download it from the App Store. Open the app from your Home screen.
-
Search for Your Destination:
- Type your destination city or area into the search bar at the top of the screen.
-
Download the Map for Offline Use:
- Once your destination appears on the map, tap on the location’s name or address at the bottom of the screen.
- In the location’s info panel, tap Download. Adjust the map area as needed and tap Download again. The selected map area will now be available offline, allowing you to navigate without an internet connection.
-
Access Offline Maps:
- To view or manage your offline maps, tap on your profile picture in the top-right corner of the Google Maps app and select Offline Maps. For more tips on personalizing your iPhone, explore this guide to customizing ringtones, wallpapers, and layouts.
Step 3: Use Apple Pay for Secure Transactions
Apple Pay is a secure and convenient way to pay for purchases while traveling, reducing the need to carry cash or physical credit cards.
How to Set Up Apple Pay

-
Open the Wallet App:
- On your iPhone’s Home screen, locate and tap the Wallet app, which looks like a stack of credit cards.
-
Add a Credit or Debit Card:
- Tap the + icon in the top-right corner of the Wallet app.
- Follow the prompts to add your credit or debit card. You can scan your card using the iPhone’s camera or enter the information manually.
-
Verify Your Card:
- Depending on your bank, you may need to verify your card through a phone call, text message, or email.
-
Use Apple Pay Abroad:
- Look for the Apple Pay logo or contactless payment symbol when making purchases abroad. Double-click the side button (on Face ID models) or Home button (on Touch ID models) to use Apple Pay at checkout. For more eco-friendly tips on using your iPhone, check out this guide to eco-friendly iPhone usage.
Step 4: Enable Find My iPhone for Security
Find My iPhone is an essential tool for locating your device if it’s lost or stolen while traveling.
How to Enable Find My iPhone

-
Open the Settings App:
- Tap on the Settings icon on your iPhone’s Home screen.
-
Tap on Your Name:
- At the top of the Settings menu, tap on your name to access your Apple ID settings.
-
Select Find My:
- In the Apple ID menu, tap Find My.
-
Enable Find My iPhone:
- Tap Find My iPhone and toggle the switch to the On position. Additionally, enable Send Last Location to ensure your iPhone sends its last known location to Apple when the battery is critically low.
-
Use Find My iPhone if Lost:
- If your iPhone is lost or stolen, use another device to log into iCloud.com/find or the Find My app on another Apple device. You can track your iPhone’s location, play a sound, lock it, or remotely erase it to protect your data.
Step 5: Maximize Battery Life
Keeping your iPhone charged while traveling is essential. Here’s how to maximize your battery life.
How to Enable Low Power Mode

-
Open the Settings App:
- Tap the Settings icon on your Home screen.
-
Navigate to Battery:
- Scroll down the Settings menu and tap on Battery.
-
Enable Low Power Mode:
- Toggle Low Power Mode to the On position. When enabled, the battery icon in the top-right corner of your screen will turn yellow.
- Low Power Mode reduces background activity, such as downloads and mail fetching, to extend your iPhone’s battery life. For more tips on managing your iPhone’s data and backup settings, check out this guide on effective iCloud usage.
Additional Battery-Saving Tips
- Dim the Screen: Lower the screen brightness or enable Auto-Brightness in Settings > Display & Brightness.
- Turn Off Location Services: Go to Settings > Privacy > Location Services and disable it for apps that don’t need it.
- Disable Background App Refresh: Go to Settings > General > Background App Refresh and turn it off or limit it to Wi-Fi only.
Step 6: Stay Connected with Wi-Fi and VPNs
Staying connected is crucial while traveling, but public Wi-Fi networks can be risky. Here’s how to connect safely.
How to Connect to Wi-Fi

-
Open the Settings App:
- Tap the Settings icon on your Home screen.
-
Navigate to Wi-Fi:
- Tap on Wi-Fi and toggle it to the On position.
-
Select a Network:
- Choose a Wi-Fi network from the list of available networks. If the network is secured, enter the password when prompted. To further optimize your productivity while traveling, check out this guide on efficient task management using your iPhone.
-
Use a VPN for Security:
- Consider using a VPN (Virtual Private Network) to protect your data on public Wi-Fi networks. Download a trusted VPN app from the App Store, such as NordVPN, ExpressVPN, or ProtonVPN.
- Open the VPN app, log in, and connect to a server before browsing or using apps on public Wi-Fi.
Conclusion
Your iPhone is an essential travel companion that can help you navigate, stay connected, and keep your personal information secure while on the road. By following these tips, you can ensure a smoother and more enjoyable travel experience. Remember to prepare your iPhone before departure, and don’t hesitate to leverage the many features and apps designed to assist travelers.