Introduction
With advancements in smartphone technology, the iPhone has become a powerful tool for videography. Whether you're a beginner or an experienced filmmaker, the iPhone's camera capabilities allow you to create high-quality videos that can captivate your audience. This comprehensive guide covers everything you need to know about iPhone videography, from understanding camera settings to editing your footage. Follow these detailed steps to produce stunning videos right from your iPhone.
Step 1: Mastering Your iPhone's Camera Features
To create professional-looking videos, it's crucial to understand the features and settings of your iPhone's camera.
Key Camera Features


-
Resolution and Frame Rate:
- 4K Video: The iPhone can record in 4K resolution, providing exceptional clarity and detail.
- Frame Rates: Choose from 24fps (cinematic feel), 30fps (standard), or 60fps (smooth motion).
- How to Adjust:
- Open Settings > Camera > Record Video.
- Select the desired resolution and frame rate, such as 4K at 60fps for the highest quality.
-
Slow Motion and Time-Lapse:
- Slow Motion: Capture high-speed action in stunning detail by slowing down the footage.
- Time-Lapse: Compress hours into seconds, perfect for showing the passage of time.
- How to Use:
- Open the Camera app and swipe to Slo-Mo or Time-Lapse.
- Set up your shot and tap the red record button to start.
- Learn more about enhancing your iPhone experience with Siri Shortcuts in our in-depth guide.
-
Cinematic Mode:
- Cinematic Mode offers a shallow depth of field, focusing attention on the subject while softly blurring the background.
- How to Use:
- Open the Camera app and swipe to Cinematic.
- Tap to set focus on your subject, then start recording.
Step 2: Essential Videography Techniques
Utilize these videography techniques to enhance the quality and appeal of your videos.
Lighting

- Natural Lighting: The best source of lighting is natural light. Shoot during the golden hours (shortly after sunrise or before sunset) for a soft, warm glow.
- Artificial Lighting: If natural light is insufficient, use softboxes, LED panels, or ring lights to illuminate your scene evenly.
- Avoid Harsh Shadows: Position your light source to avoid harsh shadows on your subject's face, which can be distracting and unflattering.
- For more ways to utilize your iPhone for everyday tasks, check out our guide to using the iPhone Wallet app for tickets, passes, and payments.
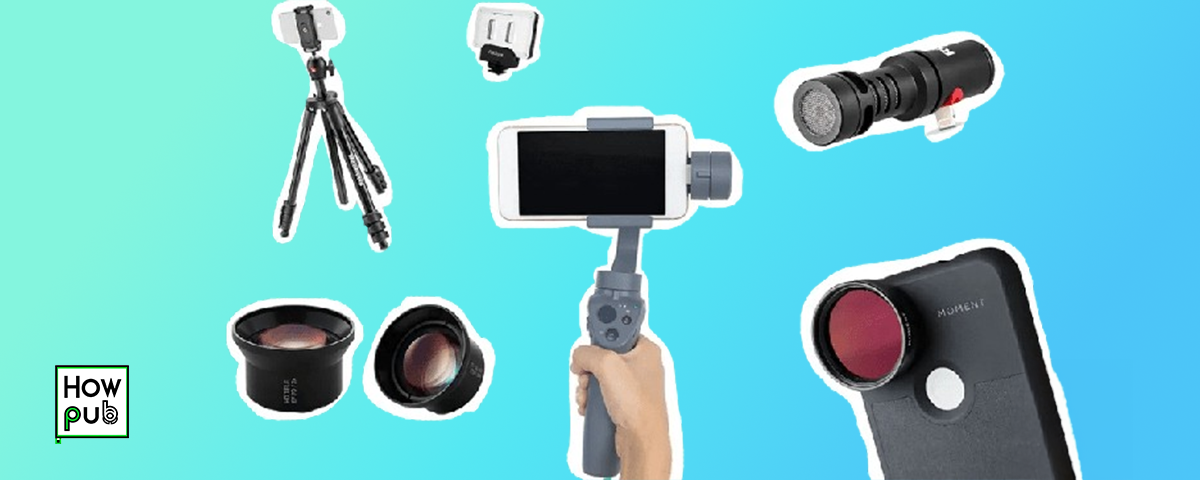
Stabilization

- Tripods and Gimbals: Use a tripod or gimbal to stabilize your iPhone, reducing shake and producing smooth footage.
- Built-in Stabilization: Ensure that features like optical image stabilization (OIS) and electronic image stabilization (EIS) are enabled for steady shots.
Composition

- Rule of Thirds: Activate the grid feature in your camera settings and place key elements along the grid lines for a balanced composition.
- Leading Lines: Use natural lines, like roads or pathways, to guide the viewer's eye towards the main subject.
- Framing: Frame your subject using elements in the foreground, like doorways or foliage, to add depth and focus to the shot.
Step 3: Ensuring High-Quality Audio
Good audio quality is as important as good visuals. Here’s how to capture clear sound. Try customizing sound settings and improving audio experiences, see our guide on sound settings for the hearing impaired on iPhone.
External Microphones

- Why Use External Mics: The built-in microphone on the iPhone may not capture clear audio, especially in noisy environments.
- How to Use:
- Connect an external microphone, such as a lavalier or shotgun mic, via the Lightning port or through Bluetooth.
- Perform a sound check before recording to ensure the audio levels are appropriate.
Reducing Background Noise
- Quiet Locations: Choose quiet settings for recording to minimize background noise.
- Post-Processing: Use apps like GarageBand or Audacity to filter out unwanted noise and enhance the clarity of your audio.
- For a comprehensive guide on enhancing iPhone privacy, see our iPhone Privacy Settings guide.
Step 4: Editing Your Videos
Editing is where your footage comes together to tell a compelling story. Utilize these tools and tips for effective editing.
iMovie and Clips

-
iMovie: A powerful and free editing tool available on iPhones.
- How to Use:
- Open iMovie and create a new project.
- Import your footage and use the timeline to edit by trimming, splitting, and adding transitions and effects.
- How to Use:
-
Clips: Ideal for creating quick, engaging videos for social media.
- How to Use:
- Open Clips and start a new project.
- Record or import video clips, then add text, filters, and music.
- How to Use:
Explore more about navigating the App Store, finding, installing, and organizing apps with our App Store Guide.
Advanced Editing Apps
- LumaFusion: Offers multi-track editing, keyframing, and color correction, providing professional-level editing tools.
- Adobe Premiere Rush: A versatile editing app that syncs across devices, making it easy to start editing on your iPhone and finish on your desktop.
Step 5: Sharing Your Videos
Once your video is polished and ready, it’s time to share it with the world.
Uploading to Social Media

- YouTube: Upload your videos directly from the YouTube app or through the web browser.
- Instagram: Share your videos on your feed, stories, or IGTV for longer content.
- TikTok: Edit your videos directly within the TikTok app to add effects and music.
Optimizing for Different Platforms
- Aspect Ratios: Adjust your video’s aspect ratio depending on the platform (16:9 for YouTube, 1:1 for Instagram).
- Captions and Hashtags: Include relevant captions and hashtags to increase the visibility of your videos.
For more insights on boosting productivity with top recommended apps, explore our Productivity Apps Guide.
Conclusion
Mastering iPhone videography involves understanding your camera’s capabilities, utilizing proper filming techniques, ensuring high-quality audio, and expertly editing your footage. By following these steps, you can create stunning, professional-quality videos that captivate your audience. Whether you’re shooting a short film, a vlog, or just capturing memories, the iPhone provides all the tools you need to produce impressive videos.