Introduction
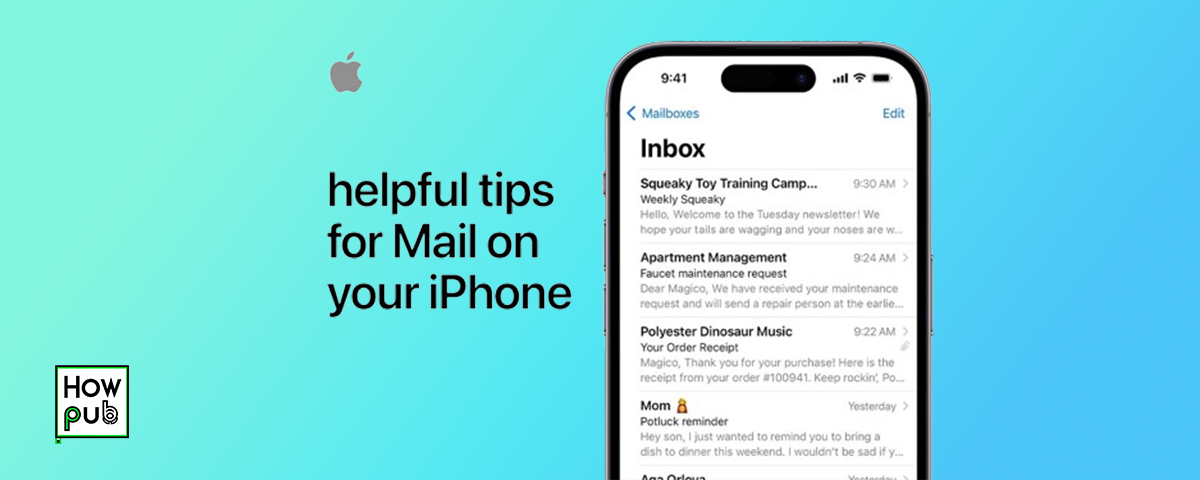
Managing emails efficiently is essential for staying organized and productive, especially when you’re on the go. Your iPhone provides powerful tools for handling emails quickly and effectively, whether you’re dealing with personal correspondence or managing a busy work inbox. This guide will walk you through essential tips and tricks for mastering email management on your iPhone.
Step 1: Setting Up Your Email Accounts
The first step to mastering email management is ensuring all your email accounts are correctly set up on your iPhone.
How to Add an Email Account


-
Open the Settings App:
- Tap the Settings icon on your iPhone’s Home screen, which looks like a gray gear.
-
Scroll to Mail:
- In the Settings menu, scroll down and tap on Mail.
-
Add an Account:
- Tap Accounts, then tap Add Account.
- Choose your email provider from the list (e.g., Google, Yahoo, Outlook). If your provider isn’t listed, tap Other and enter your email details manually.
-
Enter Your Email Information:
- Follow the prompts to enter your email address, password, and any other required information.
- After entering your details, tap Next to complete the setup. Your iPhone will verify your information and, if successful, your email account will be added.
-
Customize Your Account Settings:
- After adding your account, tap on it from the Accounts list to customize settings such as Mail, Contacts, Calendars, and Notes synchronization.
If you encounter any issues while setting up or managing your email accounts, learn how to troubleshoot common iPhone software problems to ensure smooth functionality and seamless email management.
Step 2: Organizing Your Inbox with Folders and Labels
Keeping your inbox organized with folders and labels can significantly improve your email management efficiency.
How to Create Folders and Labels

-
Open the Mail App:
- Tap the Mail app icon on your Home screen.
-
Create a New Folder:
- Tap Mailboxes in the top-left corner to view all your mailboxes.
- Scroll down and tap Edit in the top-right corner.
- Tap New Mailbox in the bottom-right corner.
- Enter a name for your new folder and choose a location for it (e.g., under your primary account or a subfolder). Tap Save to create the folder.
-
Move Emails to Folders:
- To move emails, go to your inbox and tap Edit in the top-right corner.
- Select the emails you want to move by tapping on them, then tap Move at the bottom of the screen.
- Choose the folder where you want to move the emails.
-
Use Labels in Gmail:
- If you use Gmail, you can organize your emails with labels instead of folders. Open an email, tap the Label icon (usually a tag icon), and select or create a new label.
If you experience any difficulties while organizing your inbox with folders and labels, troubleshoot common iPhone issues to resolve them quickly and maintain your email management efficiency.
Step 3: Utilizing Swipe Gestures for Quick Actions
Swipe gestures in the Mail app allow you to quickly manage your emails with just a swipe of your finger.
How to Customize Swipe Actions

-
Open the Settings App:
- Tap the Settings icon on your iPhone’s Home screen.
-
Scroll to Mail:
- In the Settings menu, scroll down and tap on Mail.
-
Select Swipe Options:
- Tap Swipe Options to customize your swipe gestures.
-
Choose Actions for Swipe Left and Swipe Right:
- Select the actions you want to assign to swiping left and right. Options include Mark as Read, Flag, Move Message, Archive, or Trash.
-
Use Swipe Gestures:
- Open the Mail app and swipe left or right on an email in your inbox to quickly perform the action you’ve assigned.
To make the most of your iPhone’s email management and storage efficiency, learn more about Apple iCloud features, benefits, and storage management.
Step 4: Using Filters and Search to Find Emails Quickly
Filters and search features help you quickly locate specific emails, even in a cluttered inbox.
How to Use Filters

-
Open the Mail App:
- Tap the Mail app icon on your Home screen.
-
Access the Filter Tool:
- Tap the Filter icon in the bottom-left corner of the screen (it looks like a funnel).
-
Choose a Filter:
- Tap Filtered by at the bottom of the screen to choose a filter. You can filter emails by unread, flagged, emails with attachments, and more.
-
Apply the Filter:
- After selecting your filter criteria, only the emails that match will be displayed in your inbox.
To further enhance your iPhone experience, you can also explore understanding iPhone notifications and alert management to ensure you’re only alerted for the most important emails.
How to Use the Search Function

-
Open the Mail App:
- Tap the Mail app icon on your Home screen.
-
Access the Search Bar:
- Scroll to the top of your inbox to reveal the search bar.
-
Enter Your Search Query:
- Type the keyword, email address, or subject you’re searching for in the search bar.
-
Use Filters in Search:
- As you type, you can filter results by tapping options like From, To, Subject, or Attachments to narrow down your search results.
Step 5: Managing Email Notifications
Managing your email notifications effectively can help you stay on top of important emails without being overwhelmed by constant alerts.
To further streamline your email experience, check out using iPhone for creative writing apps and tools to stay productive in managing both your tasks and creativity.
How to Customize Email Notifications

-
Open the Settings App:
- Tap the Settings icon on your iPhone’s Home screen.
-
Scroll to Mail:
- In the Settings menu, scroll down and tap on Mail.
-
Tap Notifications:
- Select Notifications to customize how you receive email alerts.
-
Select Your Email Account:
- Choose the email account for which you want to customize notifications.
-
Choose Your Alert Style:
- Decide how you want to be alerted: None, Banners, or Alerts. You can also toggle Sounds and Badges on or off.
-
Customize VIP Alerts:
- Set up VIP alerts for emails from specific contacts. Go to Mail > VIP in the Mail app, add the contacts you want to mark as VIPs, and enable VIP Alerts in the Notifications settings.
For additional ways to ensure you're prepared, explore using iPhone in emergency situations to make sure you're equipped with the best safety features alongside your customized notifications.
Step 6: Using the Mail App’s Smart Features
Take advantage of the Mail app’s smart features to automate and streamline your email management.
How to Use Smart Mailboxes

-
Open the Mail App:
- Tap the Mail app icon on your Home screen.
-
Access Smart Mailboxes:
- Tap Mailboxes in the top-left corner to view all your mailboxes. Scroll down to find the Smart Mailboxes section.
-
Enable Smart Mailboxes:
- Tap Edit in the top-right corner, then tap the checkboxes next to the smart mailboxes you want to use, such as Unread, Flagged, Attachments, or Today.
-
Organize Your Inbox:
- Smart Mailboxes automatically organize your emails based on the criteria you selected. For example, all unread emails will appear in the Unread smart mailbox.
For more ways to stay organized beyond email, explore how iPhones are transforming learning environments with the best apps for education and organization, helping you streamline both your inbox and your academic or professional tasks.
How to Use the Mute Thread Feature

-
Open the Mail App:
- Tap the Mail app icon on your Home screen.
-
Find the Email Thread:
- Locate the email thread that you want to mute.
-
Swipe Left on the Thread:
- Swipe left on the email thread, then tap More.
-
Select Mute:
- Tap Mute to stop receiving notifications for new emails in that thread. The thread will still be available in your inbox, but you won’t be alerted when new messages arrive.
Muting email threads is just one way to declutter your notifications. If you're looking to use your iPhone for more than just productivity, check out how you can foster creativity with your device by exploring this guide on creative uses for iPhone.
Conclusion
Mastering email management on your iPhone can help you stay organized, reduce stress, and increase productivity. By setting up your email accounts correctly, organizing your inbox with folders and labels, using swipe gestures and smart features, and customizing your notifications, you can efficiently manage your emails on the go. Follow this guide to take full advantage of your iPhone’s email management capabilities.