Introduction
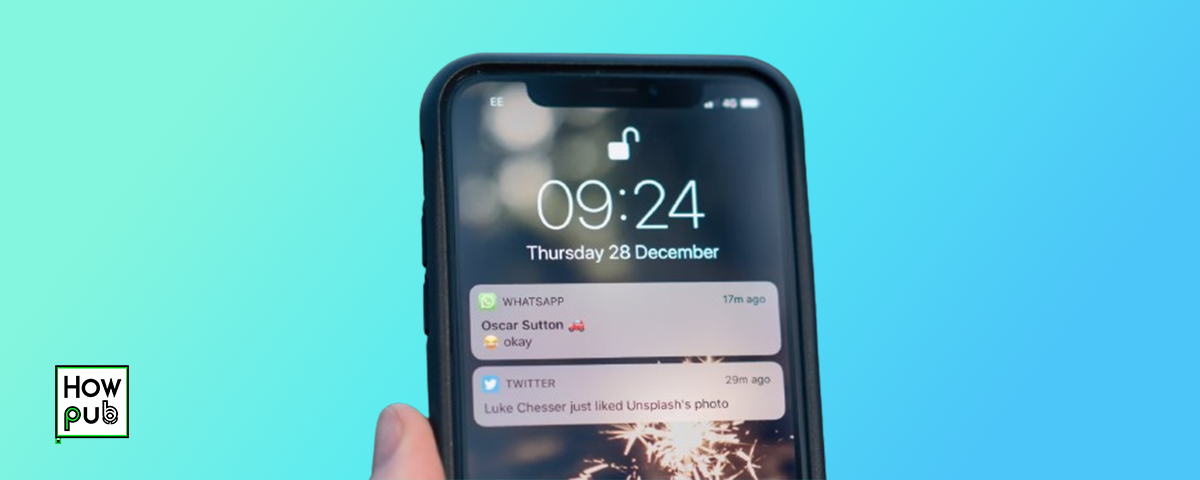
Notifications are essential for staying updated, but they can also be a significant source of distraction. Managing your iPhone notifications effectively can help you stay focused and productive. This comprehensive guide will walk you through the steps to customize and control your notifications to minimize interruptions.
Step 1: Accessing Notification Settings
Start by accessing the notification settings on your iPhone.
How to Access Notification Settings
-
Open Settings:
- Tap the Settings app on your iPhone home screen.
-
Navigate to Notifications:
- Scroll down and tap Notifications.
Step 2: Customizing Notifications for Individual Apps
Customize notifications for each app to control how and when you receive alerts.
How to Customize Notifications
-
Select an App:
- In the Notifications menu, you’ll see a list of all your apps. Tap on the app you want to customize.
-
Adjust Notification Settings:
- Allow Notifications: Toggle this on or off to enable or disable notifications for the app.
- Alerts: Choose where you want to see notifications – on the Lock Screen, Notification Center, or as Banners.
- Banner Style: Choose between temporary or persistent banners.
- Sounds: Enable or disable notification sounds.
- Badges: Show or hide the app icon badge.
- Show Previews: Decide if you want to show notification previews always, when unlocked, or never.
Step 3: Using Focus Mode
Focus Mode helps you stay in the zone by filtering notifications and apps based on your current activity.
How to Set Up Focus Mode
-
Open Settings:
- Tap the Settings app.
-
Navigate to Focus:
- Tap Focus.
-
Create a New Focus:
- Tap the + icon in the top right corner to create a new Focus.
- Choose a Focus type, such as Work, Personal, or Sleep.
-
Customize Focus Settings:
- Allowed Notifications: Select people and apps allowed to notify you during this Focus.
- Customize Screens: Choose which Home Screen pages, Lock Screen, and Apple Watch faces to show during this Focus.
- Smart Activation: Enable Smart Activation to turn on the Focus automatically based on your location, app usage, and time.
Step 4: Using Scheduled Summary
Scheduled Summary delivers non-urgent notifications at a specific time, reducing the frequency of interruptions.
How to Set Up Scheduled Summary
-
Open Settings:
- Tap the Settings app.
-
Navigate to Notifications:
- Tap Notifications.
-
Select Scheduled Summary:
- Toggle on Scheduled Summary.
-
Set Up Summary Schedule:
- Choose the apps to include in your summary.
- Set the times for your notification summaries.
Step 5: Using Do Not Disturb
Do Not Disturb silences all notifications to help you stay focused during important activities or when you need uninterrupted rest.
How to Use Do Not Disturb
-
Open Control Center:
- Swipe down from the top-right corner of the screen (or swipe up from the bottom on older models).
-
Enable Do Not Disturb:
- Tap the crescent moon icon to turn on Do Not Disturb.
-
Customize Do Not Disturb Settings:
- Go to Settings > Focus > Do Not Disturb.
- Set specific times to automatically enable Do Not Disturb.
- Allow calls from certain contacts or repeated calls to bypass Do Not Disturb.
Step 6: Managing Notification Grouping
Group notifications by app to keep your Notification Center organized and less cluttered.
How to Manage Notification Grouping
-
Open Settings:
- Tap the Settings app.
-
Navigate to Notifications:
- Tap Notifications.
-
Select an App:
- Tap on the app you want to customize.
-
Choose Grouping Option:
- Under Notification Grouping, select Automatic, By App, or Off.
Conclusion
Managing your iPhone notifications effectively can significantly reduce distractions and help you stay focused. By customizing notifications for each app, using Focus Mode, setting up Scheduled Summary, utilizing Do Not Disturb, and managing notification grouping, you can control when and how you receive alerts. Implement these strategies to create a more productive and less interruptive iPhone experience.


