Introduction
The iPhone's Weather app and widgets are powerful tools that keep you informed about current conditions and forecasts. By customizing these features, you can access the most relevant weather information at a glance, directly from your home screen. This guide will walk you through how to effectively use and customize the Weather app and widgets on your iPhone.
Step 1: Setting Up the Weather App
The Weather app provides detailed information on current conditions, hourly forecasts, and extended forecasts for your chosen locations.
How to Set Up and Customize the Weather App


-
Open the Weather App:
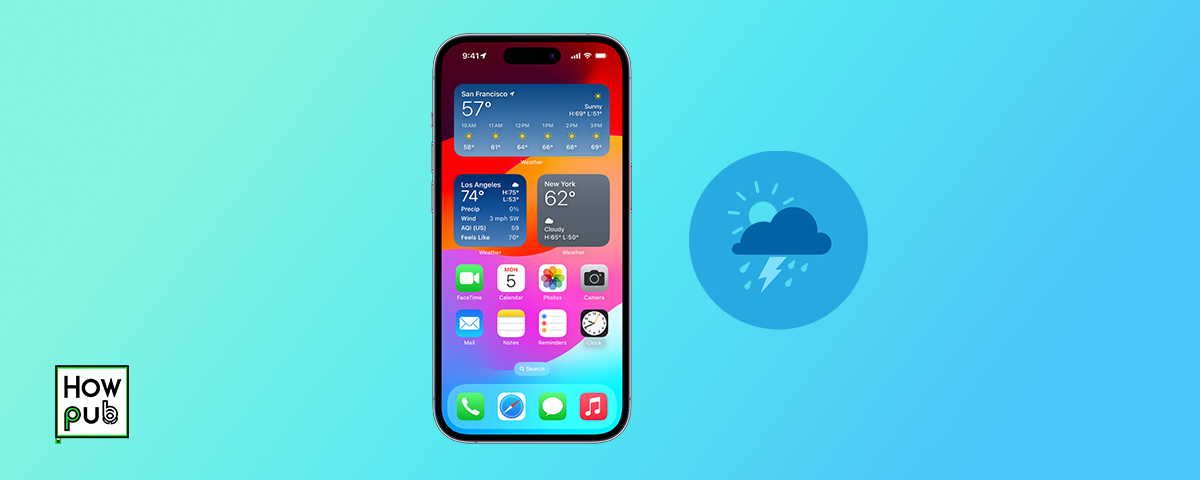
- Find the Weather app on your iPhone’s Home screen. The icon resembles a sun behind a cloud.
-
Add Locations:
- To add locations, tap the List icon at the bottom right of the screen. Then tap the + icon in the bottom right corner.
- Type the name of the city or location you want to add in the search bar, then tap on it from the search results. Repeat this process for all the locations you want to monitor.
-
Reorder Locations:
- Tap Edit in the top right corner of the location list. Drag and drop locations to reorder them according to your preference. The top location typically reflects your current location if Location Services is enabled.
-
Set Default Units:
- Go to Settings > Weather to choose between Fahrenheit and Celsius for temperature units.
-
Enable Notifications:
- To receive severe weather alerts or precipitation notifications, go to Settings > Notifications > Weather and toggle on Allow Notifications. Customize the alert style and sound as desired.
Step 2: Customizing Weather Widgets on the Home Screen
Weather widgets allow you to view weather information directly from your Home screen without opening the Weather app.
How to Add and Customize Weather Widgets

-
Access the Widget Gallery:
- Tap and hold a blank area on your Home screen until the apps jiggle. Tap the + icon in the top left corner to open the Widget Gallery.
-
Find the Weather Widget:
- Scroll through the Widget Gallery or use the search bar to find the Weather widget.
-
Choose a Widget Size:
- The Weather widget comes in three sizes: small, medium, and large. Each size displays different amounts of information. For example, the small widget shows current conditions, while the large widget includes a forecast for the next few days.
-
Add the Widget to Your Home Screen:
- Tap Add Widget after selecting the size you prefer. The widget will be placed on your Home screen. You can drag it to reposition it as desired.
-
Customize the Widget Location:
- By default, the widget shows the weather for your current location. To change this, tap and hold the widget, select Edit Widget, and choose a different location from the list.
Step 3: Using Weather Widgets in the Today View
In addition to the Home screen, you can place Weather widgets in the Today View for quick access.
How to Use Weather Widgets in the Today View

-
Access the Today View:
- Swipe right from your Home screen or Lock screen to access the Today View.
-
Add a Weather Widget:
- Scroll to the bottom of the Today View and tap Edit. Then tap the + icon in the top left corner to open the Widget Gallery. Find and select the Weather widget.
-
Choose and Add the Widget:
- Select the desired widget size and tap Add Widget. The widget will appear in the Today View. You can drag it up or down to reorder it among your other widgets.
-
Customize the Widget:
- To change the location displayed by the widget, tap and hold it, select Edit Widget, and choose a different location from the list.
Step 4: Exploring Advanced Weather Features
The Weather app includes several advanced features that provide more detailed information and customization options.
How to Use Advanced Weather Features

-
View Detailed Forecasts:
- Tap on any location in the Weather app to view detailed forecasts, including hourly and 10-day forecasts. Scroll down to see information on humidity, UV index, wind speed, sunset times, and more.
-
Access Radar Maps:
- Scroll down within the Weather app to find the radar map, which shows real-time precipitation patterns, cloud cover, and temperature gradients. Tap the map to expand it and interact with different layers.
-
Enable Weather Maps:
- For a more detailed view of weather patterns, go to Maps and enable Weather in the layers menu. This feature overlays temperature and precipitation data onto your map view, providing a broader context for weather conditions.
-
Set Precipitation Alerts:
- Get notified when rain or snow is expected. Go to Settings > Weather > Notifications and toggle on Next-Hour Precipitation. This will alert you to upcoming precipitation within the next hour.
Step 5: Integrating Third-Party Weather Apps
For those who need more detailed or specialized weather information, integrating third-party weather apps can enhance your experience.
How to Integrate Third-Party Weather Apps

-
Choose a Third-Party Weather App:
- Popular third-party weather apps include AccuWeather, The Weather Channel, Dark Sky, and Carrot Weather. Each offers unique features such as hyper-local forecasts, customizable alerts, or humorous weather updates.
-
Download and Set Up the App:
- Download your chosen app from the App Store. Follow the setup instructions to configure locations, units of measurement, and notifications.
-
Add a Third-Party Weather Widget:
- Most third-party weather apps offer their own widgets. To add one, tap and hold on your Home screen, tap the + icon to open the Widget Gallery, and search for the app’s widget. Select the widget size and tap Add Widget.
-
Customize the Widget:
- Customize the widget’s settings by tapping and holding it, then selecting Edit Widget. You can usually choose which data is displayed, such as temperature, precipitation, or wind speed.
Step 6: Troubleshooting Common Weather App Issues
If you encounter issues with the Weather app or widgets, there are simple troubleshooting steps you can follow.
How to Troubleshoot Weather App Issues

-
Check Location Services:
- Ensure that Location Services is enabled for the Weather app. Go to Settings > Privacy > Location Services, and make sure it’s toggled on. Scroll down to Weather and select While Using the App or Widgets.
-
Refresh Data:
- If the Weather app isn’t updating, try refreshing the data by force quitting the app and reopening it. Swipe up from the bottom of the screen (or double-click the Home button on older models) to open the app switcher, then swipe up on the Weather app to close it.
-
Restart Your iPhone:
- Restart your iPhone to resolve any temporary glitches. Press and hold the side button and either volume button until the power off slider appears, then slide to power off. Turn your iPhone back on by pressing and holding the side button.
-
Update iOS:
- Make sure your iPhone is running
the latest version of iOS. Go to Settings > General > Software Update to check for and install any available updates.
- Reinstall the Weather App:
- If all else fails, try deleting and reinstalling the Weather app. Tap and hold the Weather app icon, select Remove App, then go to the App Store to download it again.
Conclusion
Customizing your iPhone's Weather app and widgets allows you to access the most relevant weather information quickly and efficiently. By following the steps in this guide, you can personalize your weather experience to suit your needs, whether you're checking the forecast for your daily commute or planning a weekend getaway. With the right settings and widgets, your iPhone can be a powerful tool for staying informed about the weather.