Introduction
VoiceOver is a groundbreaking screen reader integrated into every iPhone, designed to make the device fully accessible to users who are visually impaired or blind. With VoiceOver, your iPhone can speak descriptions of what’s on the screen, enabling you to navigate through apps, read texts, and perform tasks without relying on visual input. In this step-by-step guide, you will learn how to set up, customize, and use VoiceOver effectively, ensuring a seamless and empowering iPhone experience.
Step 1: Activating VoiceOver
Activating VoiceOver on your iPhone is the first step toward accessing its powerful accessibility features. Here’s how to do it:
How to Turn On VoiceOver on iPhone


-
Open the Settings App:
- Locate and tap on the Settings app on your Home screen to open it.
-
Go to Accessibility Settings:
- Scroll down and select Accessibility from the menu. This section contains all the tools and features designed to make your iPhone more accessible.
-
Select VoiceOver:
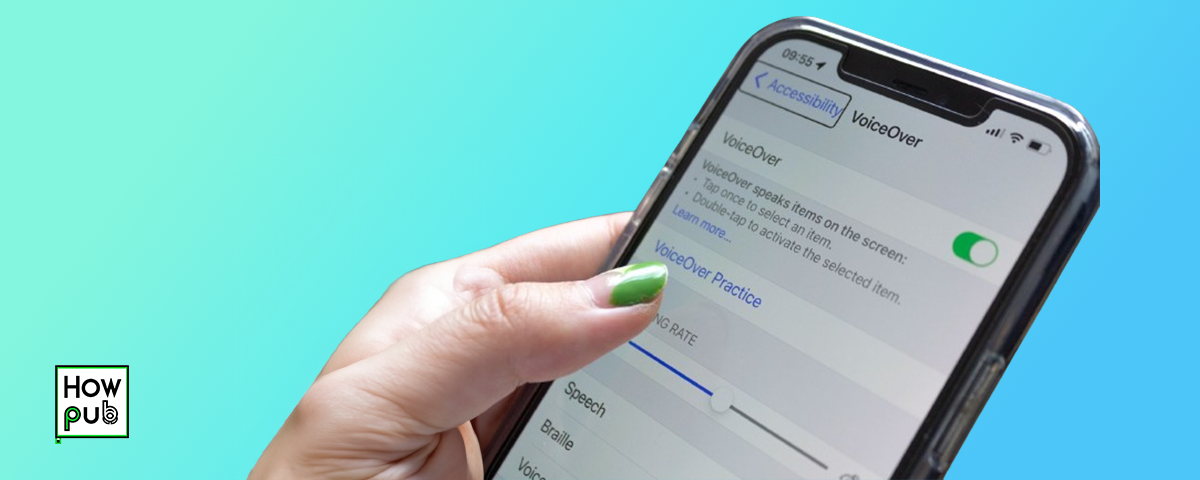
- Under the Vision section, tap VoiceOver. This will take you to the VoiceOver settings screen.
-
Toggle VoiceOver On:
- Turn on VoiceOver by tapping the switch next to VoiceOver. Your iPhone will immediately start providing spoken feedback.
-
Set Up VoiceOver Shortcut:
- To quickly enable or disable VoiceOver, go to Settings > Accessibility > Accessibility Shortcut, and select VoiceOver. This allows you to triple-click the side or Home button to toggle VoiceOver on or off.
Step 2: Mastering VoiceOver Gestures
VoiceOver relies on unique gestures that allow you to interact with your iPhone without needing to see the screen. Learning these gestures is essential for efficient navigation and usage.
Essential VoiceOver Gestures for iPhone

-
Single-Tap to Select:
- Tap once on the screen to have VoiceOver describe the item under your finger.
-
Double-Tap to Activate:
- After selecting an item with a single tap, double-tap anywhere on the screen to activate or open it.
-
Swipe Left or Right with One Finger:
- Swipe left or right with one finger to move through items on the screen sequentially.
-
Three-Finger Swipe Left or Right:
- Swipe left or right with three fingers to move between different Home screens or pages within an app.
-
Two-Finger Swipe Up or Down:
- Swipe down with two fingers to scroll down, and swipe up to scroll up. This is useful for navigating long pages or lists.
-
Rotary Motion (Rotor Gesture):
- Rotate two fingers on the screen as if turning a dial. This gesture is called the rotor and changes how VoiceOver moves through content, such as adjusting the speech rate, moving through text by character or word, or navigating links on a web page.
Step 3: Customizing VoiceOver Settings
VoiceOver offers extensive customization options, allowing you to tailor the experience to your specific needs and preferences.
How to Personalize VoiceOver Settings on iPhone

-
Adjust the Speaking Rate:
- In the VoiceOver settings, use the Speaking Rate slider to control how fast or slow VoiceOver speaks. Slower rates may be easier for beginners, while faster rates can speed up tasks for advanced users.
-
Choose Your Preferred Voice:
- Tap Speech within the VoiceOver settings to choose from different voices and languages. You can download additional voices for different languages or accents, and adjust the pitch to match your preference.
-
Enable Verbosity Settings:
- Verbosity settings allow you to control the level of detail VoiceOver provides. Tap Verbosity to customize how much information you hear about the items on the screen, such as whether you want VoiceOver to announce punctuation or describe images.
-
Utilize Braille Support:
- If you use a braille display, VoiceOver is compatible with many braille devices. Tap Braille in the VoiceOver settings to connect and configure your braille display, allowing you to read text and interact with your iPhone using braille.
-
Practice VoiceOver Gestures:
- If you’re new to VoiceOver, use the Practice feature within the VoiceOver settings. This mode lets you practice gestures without performing real actions, helping you build confidence in using the system.
Step 4: Navigating Your iPhone with VoiceOver
Once VoiceOver is activated and customized, you can start navigating your iPhone. Understanding how to move through your device using VoiceOver is key to fully leveraging its capabilities.
How to Navigate iPhone Using VoiceOver

-
Explore the Home Screen:
- Drag your finger across the screen to explore the apps on your Home screen. VoiceOver will announce each app as your finger touches it. Once you find the app you want, double-tap anywhere on the screen to open it.
-
Use the App Switcher:
- To switch between open apps, double-click the Home button or swipe up from the bottom of the screen (on models without a Home button) to open the App Switcher. Use three fingers to swipe left or right through open apps, and double-tap to select one.
-
Interacting with Apps:
- Within apps, use the single-tap to explore buttons, sliders, and other interactive elements. Double-tap to activate them. Use the rotor gesture to navigate through text fields by character, word, or line.
-
Access the Control Center:
- Swipe down with three fingers from the top-right corner of the screen (or up from the bottom on older models) to open the Control Center. Explore and activate settings like Wi-Fi, Bluetooth, and brightness using VoiceOver gestures.
-
Manage Notifications:
- Swipe down with three fingers from the top of the screen to open the Notification Center. VoiceOver will read out your notifications, which you can interact with using standard gestures.
Step 5: Using VoiceOver with Popular Apps
VoiceOver is designed to work seamlessly with the majority of apps on your iPhone, making daily tasks easier and more accessible.
How to Use VoiceOver with iPhone Apps
-
Browsing the Web with Safari:
- In Safari, use the rotor gesture to navigate by headings, links, and form controls. Double-tap to activate links or fill out forms. VoiceOver will read out web page content as you explore, making browsing accessible.
-
Sending Messages in the Messages App:
- Use VoiceOver to compose, send, and read text messages. Tap to select text fields, dictate messages using the microphone icon, and swipe left or right to navigate through conversations. VoiceOver will read out incoming messages, ensuring you stay connected.
-
Managing Emails in the Mail App:
- In the Mail app, swipe through your inbox with three fingers, and double-tap to open an email. Use the rotor to navigate by headings or move through text line by line, ensuring you don’t miss important details.
-
Navigating with Maps:
- VoiceOver works with the Maps app to provide spoken directions. Use gestures to explore the map, get information about locations, and start navigation. VoiceOver will announce turn-by-turn directions, making it easier to get where you’re going.
-
Exploring the App Store:
- Browse and download apps using VoiceOver in the App Store. Explore app descriptions, ratings, and reviews by swiping left or right. Double-tap to download or open apps, expanding your iPhone’s functionality.
Conclusion
VoiceOver is an essential accessibility tool that transforms the iPhone into a fully functional device for users who are visually impaired or blind. By learning how to activate, customize, and navigate using VoiceOver, you can enjoy the full range of features your iPhone offers with confidence and ease. Whether you’re new to iPhone or an experienced user looking to enhance your skills, this guide provides everything you need to make the most of VoiceOver.