Introduction
In an era where digital privacy is more crucial than ever, your iPhone offers robust privacy settings designed to protect your personal information. Whether it's controlling app permissions, managing location data, or securing your communications, understanding and navigating these settings is essential for safeguarding your privacy. This guide will walk you through the key privacy features on your iPhone and how to use them effectively.
Step 1: Managing App Permissions
Apps often request access to various data and features on your iPhone, such as your location, contacts, or photos. It’s important to review and manage these permissions to ensure your data is only accessible when necessary.
How to Manage App Permissions


-
Open the Settings App:
- On your iPhone’s Home screen, locate and tap the Settings icon, which looks like a gray gear.
-
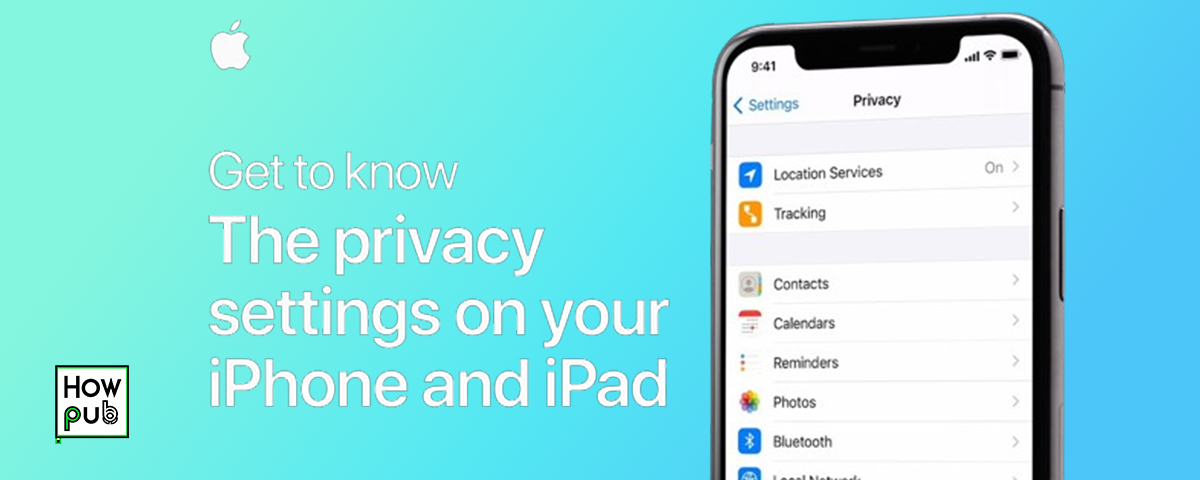
Navigate to Privacy & Security:
- Scroll down in the Settings menu and tap on Privacy & Security.
-
Select a Category:
- You will see different categories like Location Services, Contacts, Photos, Camera, and more. Tap on any category to review which apps have access to that data.
-
Manage Permissions:
- Tap on an app to manage its permissions. For example, you can choose whether an app can always access your location, only while using the app, or never.
- For photos, you can allow access to all photos, selected photos, or none at all.
-
Review Periodically:
- It’s a good practice to periodically review these settings and revoke permissions for apps that no longer need access.
Step 2: Controlling Location Services
Location Services allow apps to use your location data, which can be useful for navigation, weather updates, and location-based reminders. However, it’s important to control how and when your location is shared.
How to Control Location Services

-
Open the Settings App:
- Tap the Settings icon on your Home screen.
-
Navigate to Privacy & Security:
- Scroll down and tap on Privacy & Security.
-
Select Location Services:
- Tap on Location Services at the top of the screen.
-
Manage Location Permissions:
- Here, you’ll see a list of apps that have requested access to your location. Tap on any app to choose when it can access your location:
- Never: The app cannot access your location.
- Ask Next Time Or When I Share: The app will ask for permission each time it needs your location.
- While Using the App: The app can only access your location when you are actively using it.
- Always: The app can access your location at any time.
- Here, you’ll see a list of apps that have requested access to your location. Tap on any app to choose when it can access your location:
-
Share My Location:
- At the bottom of the Location Services screen, you’ll find the Share My Location setting. Tap it to control which apps and contacts can see your location.
Step 3: Enhancing Safari Privacy and Security
Safari, the default web browser on your iPhone, includes several features to protect your privacy while browsing the web. These include blocking trackers, preventing cross-site tracking, and using a private browsing mode.
How to Enhance Safari Privacy

-
Open the Settings App:
- Tap the Settings icon on your Home screen.
-
Scroll Down and Tap on Safari:
- Scroll through the Settings menu until you find Safari, then tap on it.
-
Block All Cookies:
- Toggle the Block All Cookies option to prevent websites from storing cookies on your device. Note that blocking cookies might affect how some websites function.
-
Prevent Cross-Site Tracking:
- Enable Prevent Cross-Site Tracking to stop websites from tracking your browsing activity across different sites. This feature helps protect your privacy by limiting how advertisers can track you.
-
Use Private Browsing:
- When using Safari, you can switch to Private Browsing mode by tapping the tabs icon (two overlapping squares) in the bottom-right corner of Safari, then tapping Private. In this mode, Safari won’t save your browsing history, cookies, or autofill information.
Step 4: Securing Your Communications
iMessage and FaceTime are secure by default, but there are additional steps you can take to ensure your communications remain private.
How to Secure iMessage and FaceTime

-
Open the Settings App:
- Tap on the Settings icon on your Home screen.
-
Navigate to Messages:
- Scroll down and tap on Messages.
-
Enable Send as SMS:
- Ensure Send as SMS is enabled. This setting allows your iPhone to send a text message when iMessage isn’t available, ensuring your message is delivered.
-
Turn Off Message Previews:
- To prevent message content from appearing on your lock screen, go to Settings > Notifications > Messages > Show Previews and select When Unlocked or Never.
-
Manage FaceTime Settings:
- Go back to the Settings menu and tap on FaceTime.
- Ensure that FaceTime is only associated with your preferred phone numbers and email addresses.
- To prevent unsolicited FaceTime calls, you can toggle FaceTime off when not needed.
Step 5: Using Two-Factor Authentication (2FA)
Two-Factor Authentication (2FA) adds an extra layer of security to your Apple ID, making it harder for unauthorized users to access your account.
How to Enable Two-Factor Authentication

-
Open the Settings App:
- Tap the Settings icon on your Home screen.
-
Tap on Your Name:
- At the top of the Settings menu, tap on your name to access Apple ID settings.
-
Select Password & Security:
- Tap on Password & Security.
-
Enable Two-Factor Authentication:
- Tap Turn On Two-Factor Authentication and follow the on-screen instructions to set it up. You’ll need to verify your identity using a trusted phone number.
-
Use Trusted Devices:
- Ensure that only your trusted devices can receive verification codes. If you lose access to a trusted device, update your settings to remove it from your account.
Step 6: Review App Privacy Reports
iPhone’s App Privacy Report lets you see how apps are using your data, such as how often they access your location, photos, camera, microphone, and contacts.
How to Review Your App Privacy Report

-
Open the Settings App:
- Tap on the Settings icon on your Home screen.
-
Navigate to Privacy & Security:
- Scroll down and tap on Privacy & Security.
-
Tap on App Privacy Report:
- Scroll to the bottom and tap on App Privacy Report.
-
Review the Report:
- Here, you can see how often apps have accessed your data over the past seven days. This includes location data, photos, camera, microphone, contacts, and more.
- If you see any unexpected or excessive data access, consider adjusting the app’s permissions or uninstalling it.
-
Reset Privacy Report:
- If you want to start tracking your app activity from scratch, tap Turn Off App Privacy Report and then turn it back on.
Conclusion
Your iPhone is equipped with powerful privacy features that help protect your personal information and secure your communications. By navigating and adjusting these settings, you can take control of your digital privacy and reduce your exposure to potential risks. Regularly reviewing and updating these settings ensures that your iPhone continues to safeguard your information effectively.