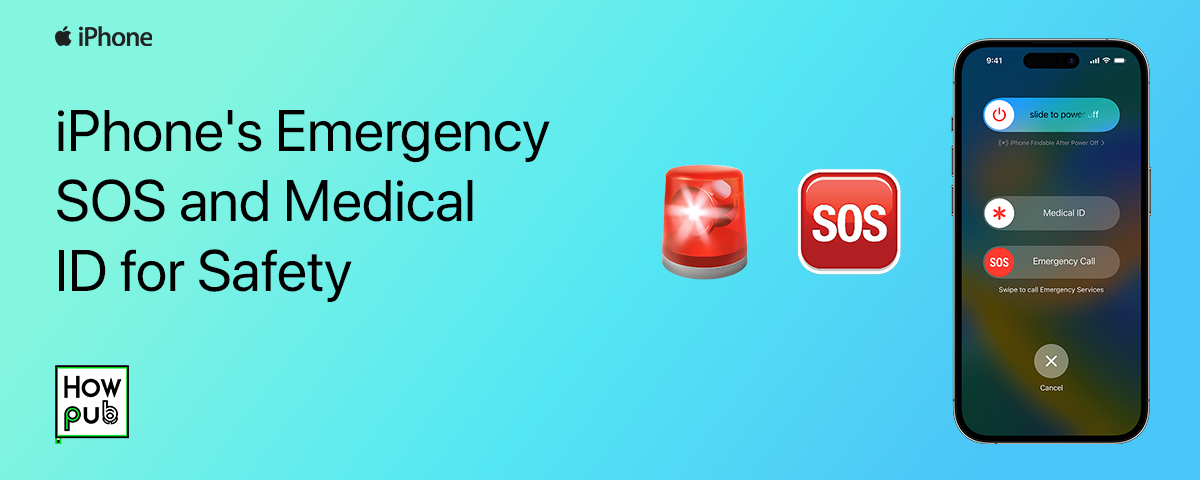
Your iPhone is more than just a communication device. It can also be a life-saving tool in emergencies thanks to features like Emergency SOS and Medical ID. These safety features are built into iOS to help you quickly alert emergency services and provide critical medical information to first responders, even if your phone is locked.
In this guide, we’ll walk you through how to set up and use iPhone's Emergency SOS and Medical ID features to ensure you're prepared for any urgent situation.
1. What Is Emergency SOS on iPhone?
The Emergency SOS feature on your iPhone allows you to quickly call emergency services by pressing a combination of buttons. This can be incredibly useful if you're in danger or experiencing a medical emergency and need immediate help without having to unlock your phone or dial a number manually.
When activated, your iPhone can:
- Call emergency services.
- Send your location to your emergency contacts.
- Display your Medical ID information for first responders.
The best part is that Emergency SOS works even when your phone is locked, providing an extra layer of security during critical moments.
How to Activate Emergency SOS:
On iPhones with Face ID (iPhone X and later):
- Press and hold the side button and either volume button until the Emergency SOS slider appears.
- Drag the Emergency SOS slider to call emergency services, or keep holding the buttons until the countdown ends, and the call will be made automatically.
On iPhones with Touch ID (iPhone 8 and earlier):
- Quickly press the side or top button five times.
- The Emergency SOS slider will appear. Drag it to initiate the call.
2. How to Set Up Emergency Contacts
Once you've used Emergency SOS to call for help, your iPhone can automatically notify your emergency contacts. These contacts will receive a text message with your current location. If your location changes, they’ll get updates for a period after the SOS is triggered.
How to Set Up Emergency Contacts:
- Open the Health app on your iPhone.
- Tap on your profile picture in the upper-right corner and choose Medical ID.
- Tap Edit, scroll down, and tap add emergency contact.
- Select a contact from your list and specify their relationship to you (e.g., parent, sibling, friend).
- Tap Done to save.
Your emergency contacts will now be alerted automatically if you use the Emergency SOS feature.
Tip: It’s a good idea to let your emergency contacts know they’ve been added so they’re aware in case they ever receive a notification.
3. What Is Medical ID on iPhone?
Medical ID is a built-in feature on your iPhone that provides crucial medical information to first responders, such as allergies, blood type, medical conditions, and emergency contacts. It can be accessed even when your iPhone is locked, ensuring that first responders have the information they need to provide you with appropriate care.
This feature is essential if you have medical conditions or allergies that emergency personnel should be aware of, especially when you might not be able to communicate those details yourself.
How to Set Up Medical ID:
-
Open the Health app on your iPhone.
-
Tap your profile picture in the upper-right corner and choose Medical ID.
-
Tap Create Medical ID or Edit if you already have one.
-
Enter important medical information such as:
- Name
- Medical conditions
- Allergies and reactions
- Medications
- Blood type
- Emergency contacts
-
Ensure Show When Locked is enabled so first responders can access your Medical ID without unlocking your phone.
-
Tap Done to save.
4. How to Access Medical ID in an Emergency
Even if your phone is locked, anyone helping you can access your Medical ID to see critical information. Here’s how it works:
How First Responders Can Access Medical ID:
- From the lock screen, press and hold the side button and a volume button on an iPhone with Face ID, or quickly press the side button five times on an iPhone with Touch ID.
- Tap Emergency on the bottom-left of the screen.
- Tap Medical ID to view the information you've provided.
This ensures that crucial information like medical conditions, medications, or allergies is accessible when it matters most.
5. Using Emergency SOS with Fall Detection (Apple Watch)
For those who use an Apple Watch, you have an additional safety feature—Fall Detection. If you experience a hard fall while wearing an Apple Watch, it will automatically ask if you're okay. If you don't respond, the watch will contact emergency services and notify your emergency contacts using the same Emergency SOS feature available on your iPhone.
How to Enable Fall Detection:
- Open the Watch app on your iPhone.
- Tap Emergency SOS.
- Toggle on Fall Detection.
Once enabled, your Apple Watch can help save your life if you're unable to respond after a fall. It will automatically send your location to emergency services and your chosen emergency contacts.
6. What to Do in Case of Accidental SOS Activation
Sometimes, you might accidentally trigger Emergency SOS. If this happens, don't panic! Here's how to handle it:
- If the call is still in the countdown phase (the siren sound is playing), you can cancel it by releasing the buttons and tapping Stop Calling.
- If the call has already connected to emergency services, stay on the line and explain the situation to the operator. It's important to inform them that it was a false alarm to prevent any unnecessary deployment of emergency responders.
7. Advanced Features: Satellite SOS for iPhone 14 and Later
With the introduction of iPhone 14 and later models, Emergency SOS via satellite offers a groundbreaking way to get help in remote areas where cellular service or Wi-Fi may not be available. This feature allows you to send emergency messages to first responders even when you're off the grid.
How Emergency SOS via Satellite Works:
- When you’re in an area with no cellular or Wi-Fi service, Emergency SOS will attempt to connect via satellite.
- Follow the on-screen prompts to aim your phone towards a satellite.
- Once connected, emergency messages will be relayed to local services, and your location will be shared with them.
- You’ll receive updates and instructions on your screen during the process.
This feature is invaluable for outdoor enthusiasts, hikers, and travelers who venture into remote areas without reliable cell coverage.
Conclusion
Whether you’re out hiking in a remote area or simply want peace of mind in your daily life, iPhone’s Emergency SOS and Medical ID features provide critical tools for your safety. These iPhone safety features are designed to help you get the assistance you need quickly and efficiently, whether from emergency services or from those closest to you.
Take the time to set up your Emergency SOS and Medical ID today, and ensure that you—and those around you—are better prepared in case of an emergency. These simple actions can make a world of difference when seconds count.


