Managing contacts and calendars on your iPhone can make your personal and professional life easier and more organized. This guide will walk you through everything you need to know about creating, managing, and customizing your contacts and calendars on an iPhone. By following these steps, you'll ensure that your information is accessible, backed up, and easy to use whenever you need it.
Setting Up Contacts on Your iPhone
To get started, let's explore how to set up and organize contacts on your iPhone.
1. Adding a New Contact
Adding contacts is straightforward and helps you store essential information about your family, friends, and colleagues.
- Open the Phone app on your iPhone.
- Tap Contacts at the bottom of the screen.
- Select + in the top right corner.
- Enter the contact’s details, such as their name, phone number, and email.
- Tap Done to save the contact.
You can also use the Contacts app for these steps. The information will sync automatically if you're signed in to iCloud.
2. Organizing Contacts into Groups
Organizing contacts into groups, such as "Family," "Friends," or "Work," helps you quickly locate people without scrolling through a long list.
- Go to Settings > Contacts.
- Select Groups (if using iCloud or another email provider like Google).
- Choose the groups you’d like to view by checking or unchecking them.
Creating Custom Contact Groups
To create custom groups directly from the iPhone, consider using iCloud on your computer:
- Log in to iCloud.com on a desktop.
- Click Contacts and select the + icon to create a new group.
- Name the group and drag the contacts into this group.
3. Syncing Contacts Across Devices
Keeping contacts in sync ensures you have the latest information on all your devices.
- Go to Settings > [Your Name] > iCloud.
- Toggle on Contacts to sync with iCloud.
For syncing with other services, like Google or Microsoft Exchange:
- Go to Settings > Contacts > Accounts.
- Add your preferred account, enable Contacts, and save.
Managing Your Calendar on iPhone
The Calendar app on iPhone offers a powerful way to organize your schedule, set reminders, and share events. Here’s how to make the most of it.
1. Adding Events to Your Calendar
To keep your schedule organized, adding events to your calendar is a great start.
- Open the Calendar app.
- Tap the + icon in the top right corner.
- Fill in the event title, location, start and end times, and other details.
- Tap Add to save.
Consider adding alerts and reminders for critical events, like meetings or appointments, to ensure you're notified ahead of time.
2. Customizing Calendar Views
The Calendar app offers several views, including Day, Week, and Month, to fit your preferences.
- Day View: Great for focusing on a single day’s events.
- Week View: A quick glance at your weekly schedule.
- Month View: Best for long-term planning.
Switch views by tapping the icons at the top of the Calendar app screen.
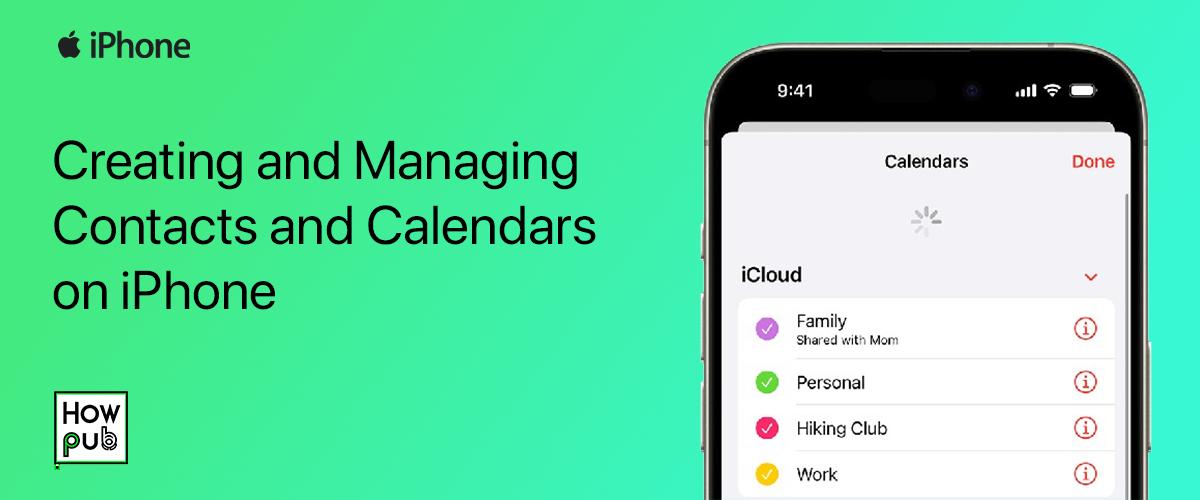
3. Creating and Managing Multiple Calendars
Having separate calendars for personal, work, and other activities can help keep your events organized.
- In the Calendar app, tap Calendars at the bottom of the screen.
- Tap Add Calendar and name it (e.g., “Work” or “Family”).
- Choose a color for easy identification and tap Done.
Now you can add events to specific calendars, helping you manage your commitments more effectively.
4. Sharing Calendars with Others
If you need to share a calendar with family members or colleagues, Apple makes it easy to set this up.
- Open the Calendar app and tap Calendars.
- Tap the i next to the calendar you want to share.
- Select Add Person and enter their email.
- Tap Add to send an invitation.
Once they accept, they’ll have access to the shared calendar.
Syncing Contacts and Calendars with Other Accounts
You can sync contacts and calendars from accounts such as Google, Microsoft Exchange, and Outlook.
Steps to Sync an Account
- Go to Settings > Mail > Accounts.
- Tap Add Account and choose your provider.
- Enter your login details and enable Contacts and Calendars.
- Your iPhone will begin syncing with the account.
Tips for Better Contact and Calendar Management
- Use Siri for Quick Actions: Ask Siri to "Add John to my contacts" or "Schedule a meeting for tomorrow at 10 AM."
- Customize Alert Times: Set up custom alert times for calendar events to get timely reminders.
- Regularly Backup: Use iCloud or iTunes to back up your contacts and calendar data.
- Update Contact Information: Regularly update contact details for accurate and up-to-date information.
Conclusion
Setting up and managing contacts and calendars on your iPhone allows you to stay organized, whether for personal or professional use. With these steps, you can make the most out of your iPhone’s built-in tools, syncing capabilities, and sharing features. Start by customizing your setup today, and check out related articles for more iPhone tips!
For further reading, explore Apple’s official iPhone User Guide.


